My Windows PC suddenly started showing hard drive errors, and some files won’t open or copy. I’m worried the drive is corrupted and I don’t want to lose important data. What are the safest steps to diagnose and fix a corrupted hard drive on Windows?
If the drive still shows the right size in Disk Management, I wouldn’t assume it’s dead yet. I had an old photo drive do almost the same thing. It vanished from File Explorer, but the partition and capacity were still visible in Disk Management. I thought the disk was toast, but it ended up being file system corruption.
The one thing I’d avoid right away is Windows’ 'Scan and fix' prompt. That can be fine in some cases, but if the only copy of your family photos is on that drive, I’d recover first and repair later.
I’d look at the basic signs first. If the drive:
- appears in Disk Management,
- shows the correct capacity,
- spins up normally,
- and isn’t clicking, grinding, or repeatedly disconnecting,
then I’d treat it like a logical/file system issue for now. That’s a much better situation than a drive that doesn’t show up anywhere or sounds physically damaged.
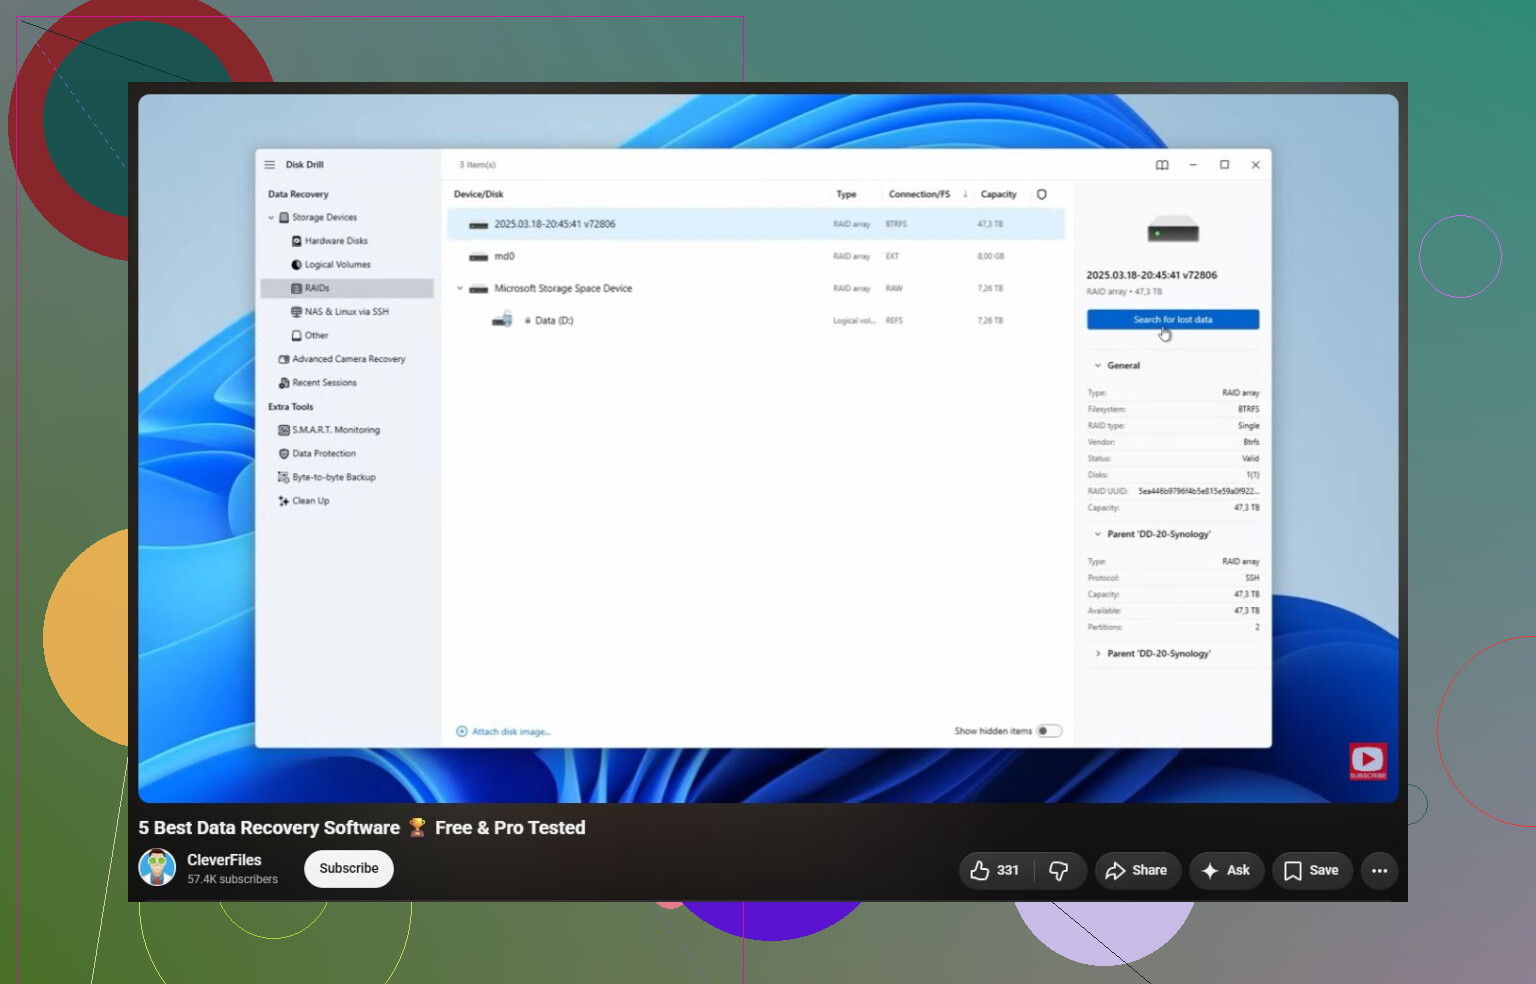
For photos, the priority should be getting the files copied somewhere else, not “fixing” the original disk. What worked for me was Disk Drill, mainly because it lets you make a full image of the drive first. Then you scan the image instead of hammering the original drive over and over. If the drive starts failing more during the process, at least you already have a copy of everything that was readable.
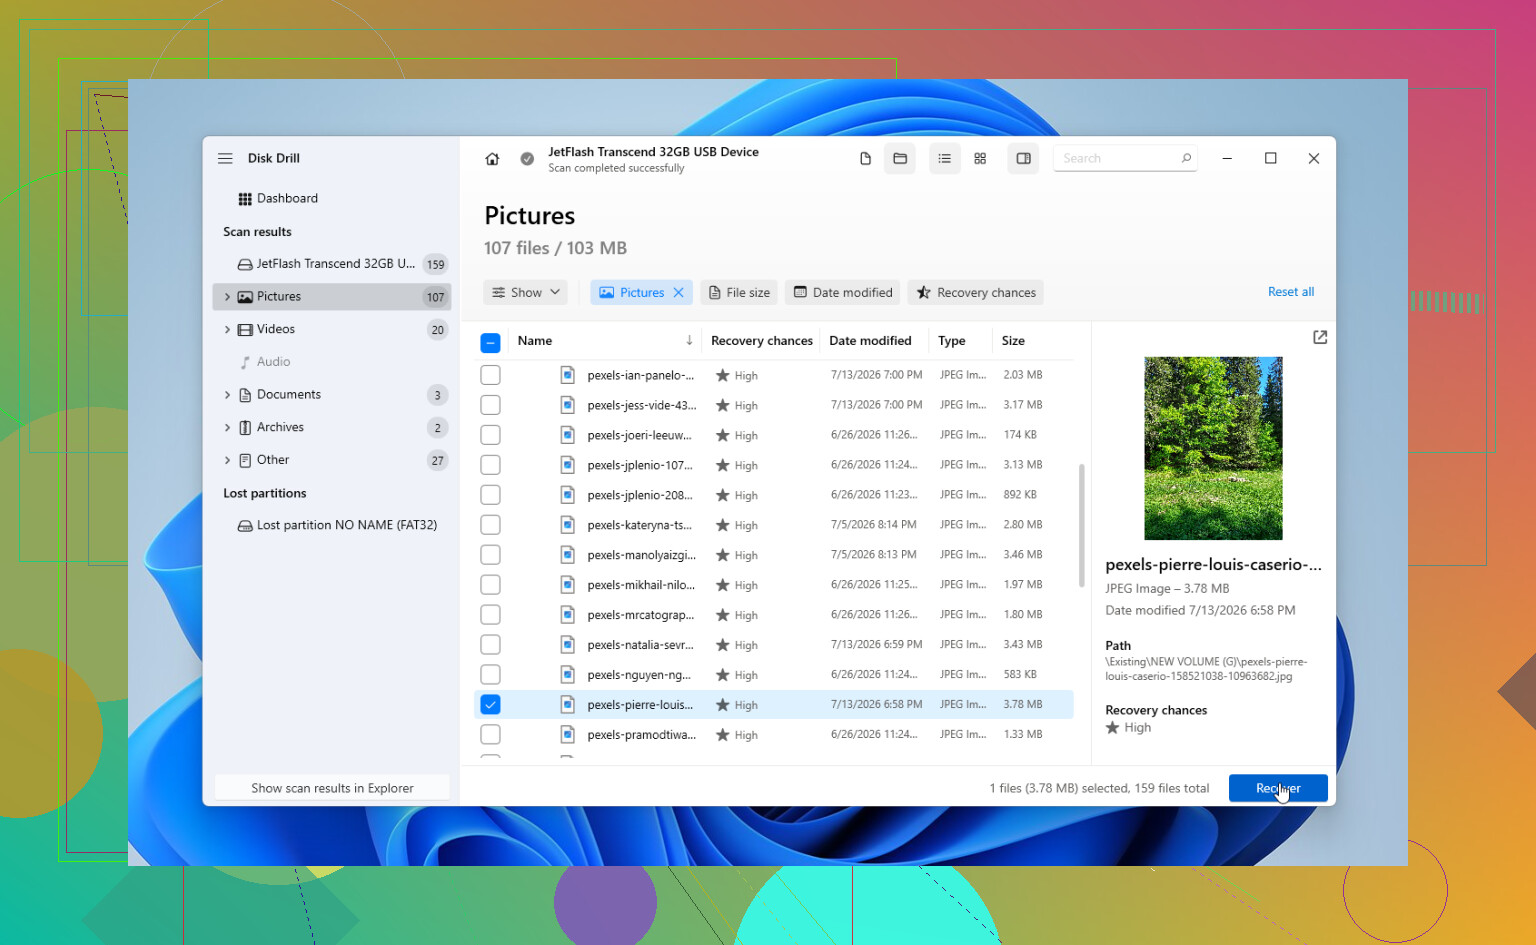
The preview feature helped too. I could open photo previews before recovering them, which made it pretty clear the files themselves were still intact. On Windows, you can recover up to 100 MB for free, so you can at least test whether it sees your files before paying for anything.
After I had the important stuff copied to another drive, fixing the old one was simple. I just formatted it and gave it a clean file system. It worked again, but I stopped trusting it with anything important. Temporary storage, sure. Family photos, no.
There are a few other tools or checks that may make sense depending on what’s actually wrong:
- CHKDSK, but only after your data is already recovered. It can repair file system issues, but it can also make recovery harder if it starts changing things.
- TestDisk, especially if Windows suddenly shows the partition as RAW or the partition info disappeared.
- A different USB cable, enclosure, or computer if this is an external drive. Bad USB bridges and flaky enclosures can make a healthy drive look corrupted.
I’d be a lot more careful if the drive is acting unstable. Things like clicking, disappearing and reconnecting, showing the wrong capacity, tons of pending/reallocated SMART sectors, or scans that slow down badly can point to a physical problem.
If that’s what’s happening, I’d stop running normal recovery scans. Every scan adds more wear, and if the drive is physically failing, software can only do so much. A proper recovery lab can work around hardware problems, image the drive with dedicated equipment, and recover from that copy instead of beating up the original disk.
It costs more, obviously. Logical recovery might start around $300–600, while mechanical damage is often more like $800–2,000 or more, depending on the drive and the failure. A lot of reputable labs are no-data-no-fee, though, so you’re not always paying if they can’t get anything back.
If it were my drive, I’d do it in this order:
- Check whether Disk Management sees the drive correctly.
- Recover the photos to a different drive.
- After that, try repair tools or format the disk.
- If corruption comes back, replace the drive.
Drives are replaceable. Family photos aren’t. Even if you get this one working again, I’d take it as a warning and keep another copy somewhere else.
Stop using that drive as your Windows download or install target until the important files are copied off. If it’s your C: drive, don’t install repair/recovery tools onto it, since every update, browser cache, or installer can overwrite damaged-but-recoverable data. Pull it and scan it from another PC or a boot USB if you can.
Do not click “Format disk,” “Initialize,” “Convert,” or “repair this drive” just because Windows offers it. Those prompts are often Windows saying “I don’t understand the file system,” not “I know how to safely save your files.”
The advice above about getting the data off first is the right direction, but there’s a small detail people mess up: don’t copy recovered files back onto the same drive. Have a separate destination ready before you start. Another internal drive, a large external drive, or a NAS share is fine. If the bad drive is 2 TB, don’t show up with a half-full 500 GB USB stick and start picking at random files for six hours.
I’d separate this into two questions:
Can the drive be read long enough to copy or image it?
Is the drive trustworthy afterward?
Those are not the same question. A drive can be readable today and still be a bad place to store anything tomorrow.
Before running repairs, I’d check the boring hardware stuff. If it’s an external drive, swap the USB cable, try a different USB port, and skip the front panel ports on a desktop. If it’s in a cheap enclosure, the enclosure can be the problem. If it’s a SATA drive inside the PC, reseat or replace the SATA cable. A flaky cable can cause “corruption” symptoms that look scarier than they are.
Then check SMART data with something like CrystalDiskInfo or the drive maker’s diagnostic tool. Don’t treat SMART like a magic pass/fail test, though. A drive can pass SMART and still be unstable. But if you see lots of reallocated sectors, pending sectors, uncorrectable errors, or the health status is already bad, stop thinking in terms of “fixing Windows” and start thinking in terms of “get a copy before it gets worse.”
If the files are very important, the safest DIY path is usually:
Make an image or clone of the drive if possible.
Recover from the image or clone.
Only after that, run CHKDSK, format, or other repair steps on the original.
That is why tools that can image first are useful. Disk Drill was already mentioned, and that part makes sense. The feature matters more than the brand name here. Scanning the same failing disk over and over is rough on it. If a tool lets you create a full byte-for-byte image and then scan that image, that is much safer than repeatedly scraping the original drive.
I’d be a little careful with CHKDSK advice. Running chkdsk without repair options is mostly a check, but chkdsk /f or chkdsk /r can make changes. Sometimes those changes are good. Sometimes it “fixes” the file system in a way that makes deleted, orphaned, or partially damaged files harder to recover cleanly. So I would not run repair mode until the important files are already copied somewhere else.
If this is your Windows system drive, don’t keep booting from it while you decide. Every boot writes logs, updates indexes, creates temp files, touches the page file, and generally does a lot of background work. Better options are to remove the drive and connect it to another PC as a secondary drive, or boot from a rescue USB and copy from there. If it’s encrypted with BitLocker, make sure you have the recovery key before moving it around.
For a quick triage, I’d look for these signs:
If the drive shows the correct size, does not make bad noises, and stays connected, DIY recovery is reasonable.
If Windows says the partition is RAW, don’t format it. Recovery software or partition tools may still see the old structure.
If it clicks, spins down, disappears, shows the wrong capacity, or freezes the whole PC when accessed, stop poking it.
If only a few files won’t copy, try copying the most important folders first instead of doing a full disk copy through File Explorer.
That last part matters. File Explorer is bad at dealing with damaged drives. It can stall forever on one unreadable file and waste the drive’s remaining good time. A proper imaging tool or recovery tool handles read errors better and can skip bad areas instead of sitting there until the drive gives up.
After recovery, I would not “trust but monitor” the drive if it already threw serious errors. Drives are cheap compared with the time you’ll spend babysitting a questionable one. If it was just file system damage caused by a bad cable or unsafe unplugging, maybe format it and use it for noncritical stuff. If SMART shows media errors, replace it.
And before doing anything else, check whether the data already exists somewhere else. OneDrive, Google Drive, Dropbox, File History, Windows Backup, old phone uploads, email attachments, another PC, even the Recycle Bin on a synced folder. People sometimes spend a weekend recovering files that are sitting in a cloud trash folder or an old backup drive.
So my short version would be: don’t repair first, don’t format, don’t write anything to that disk, don’t recover files onto it, and don’t keep using it as your normal Windows drive. Get another storage device ready, image or copy what matters, then decide whether the disk is worth repairing. If the data is irreplaceable and the drive is acting physically sick, skip the heroics and get a lab involved before software makes the situation worse.