My SSD suddenly started showing as RAW instead of NTFS, and now I can’t open the drive or access my files. I’m trying to figure out if there’s a safe way to repair or convert a RAW SSD back to NTFS without formatting it and losing important data. I really need help understanding what caused this and what steps I should take next.
If your drive shows up as RAW, I would not jump straight to formatting unless you already gave up on the files.
RAW is different from FAT32 in one important way. Windows no longer sees a valid file system there, so there is no clean path from RAW to NTFS without rebuilding the partition or formatting it. If the data matters, the safer order is simple. Pull the files off first. Reformat later.
Step 1
Leave the drive alone for now.
I would skip CHKDSK, DiskPart repair commands, and formatting at this stage. Those tools write changes to the disk. If the file system is damaged and those writes go bad, recovery tends to get uglier fast.
Step 2
Recover the files before you try to fix the drive.
If the drive still shows the right size in Disk Management, I’d start with Disk Drill.
What I did in a similar mess:
- Installed Disk Drill on a different drive.
- Plugged in the RAW USB drive, SSD, or external hard drive.
- Picked the RAW device and hit Search for Lost Data.
- Let the scan finish. It took a while.
- Sorted results by folder, file type, and filename.
- Previewed the stuff I cared about.
- Recovered everything to another storage device, never back to the same one.
One detail I liked, the Windows version recovers up to 100 MB for free. More useful than that, scanning and previews are not capped, so you get to see what’s there before spending money.
The preview part matters more than people think. If your PDFs, photos, videos, archives, or docs open in preview, odds are decent the recovered copy will be fine too. It also handles a long list of formats, including common RAW photo types.
The reason Disk Drill tends to do okay with RAW volumes is pretty plain. It does not rely only on Windows being able to read the broken NTFS structure. It looks for leftover NTFS metadata when any of it still exists. If the file system is trashed harder than that, it falls back to file signatures and tries to identify files by structure.
If the first scan misses stuff, I would check the same drive with UFS Explorer or DiskGenius too. Different tools pull different leftovers. I’ve seen one app miss a folder and another one find half of it. Annoying, but true.
Step 3
Once your files are safe somewhere else, rebuild the drive as NTFS.
The easy route:
- Open Disk Management.
- Right-click the RAW partition.
- Choose Format.
- Pick NTFS.
- Keep Quick Format checked.
- Hit OK.
If Format is grayed out or missing, delete the RAW partition first, then create a new partition and format that as NTFS.
Last thing.
If this drive is an SSD, or it keeps disconnecting, throwing read errors, or slowing down each time you touch it, I would move fast on recovery. Drives in that state tend to get worse, not better. If it goes RAW again after a fresh format, I’d stop trusting it and replace it.
RAW to NTFS without data loss is not a real conversion path. If Windows shows RAW, it means the NTFS metadata is damaged or unreadable. You fix the file system first, or you pull the data first. I lean toward data first.
I agree with @mikeappsreviewer on avoiding format at the start. I partly disagree on skipping every repair attempt no matter what. If this is a secondary SSD and SMART looks clean, a read-only check in a Linux live USB sometimes shows whether the partition table is the real issue instead of the file system. TestDisk is worth a look for partition repair, since it targets lost partition structures and does not force a full format. It takes care and some patience, so I would not use it if you are unsure.
What I would do:
-
Check SMART with CrystalDiskInfo.
If health is bad, clone the SSD first. -
Make a sector-by-sector image with something like R-Studio, ddrescue, or UFS Explorer.
Work from the image, not the original. This matters on SSDs becuase repeated reads on a failing one can make things worse. -
Try file recovery on the image.
Disk Drill is a solid pick here, same for UFS Explorer or R-Studio. Disk Drill works well on RAW SSD recovery when NTFS records are partly intact. -
After your files are safe, wipe and format back to NTFS.
One more thing. If the SSD went RAW after a power loss, bad USB bridge, or unsafe removal, the drive itself might still be fine. If it went RAW out of nowhere and keeps dropping offline, I would replace it after recovery.
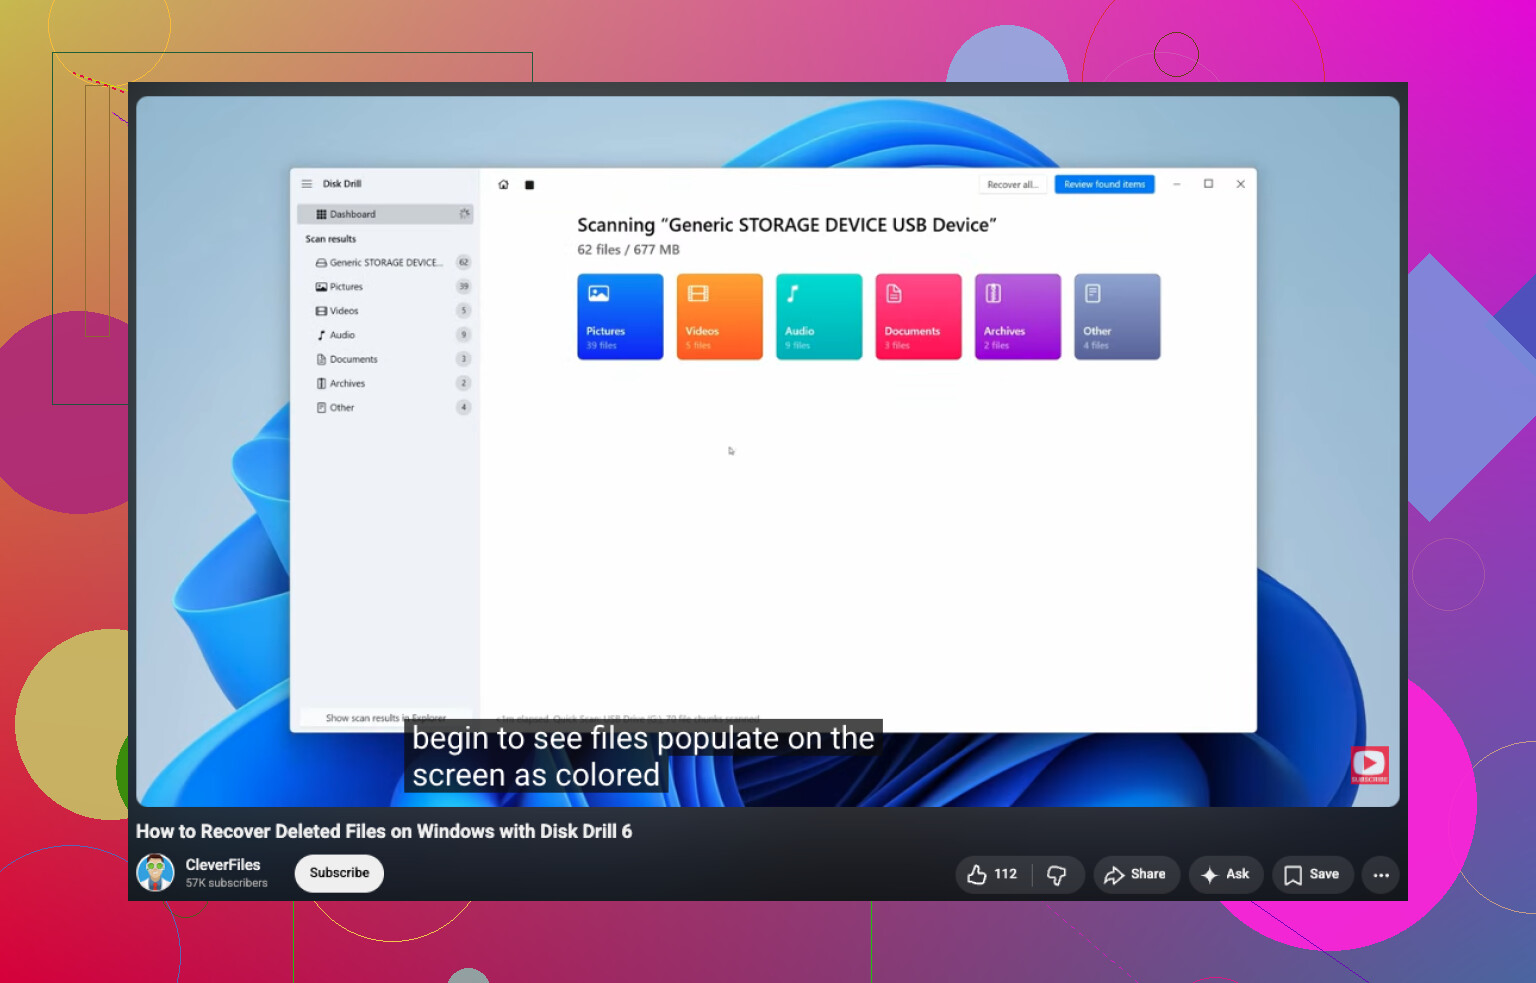
If you want a simple guide for deleted file recovery on Windows, this helps too:
watch this Windows deleted file recovery walkthrough
Short version: no, there’s no real “RAW to NTFS without losing data” button in Windows.
If an SSD shows RAW, Windows is basically saying “I can see the device, but the file system is busted or unreadable.” That means converting it back to NTFS safely usually happens only after you recover the files first, then format.
I mostly agree with @mikeappsreviewer and @viajantedoceu, but I’d push one extra point: before doing recovery scans, check the cabling/enclosure/adapter if this is an external SSD. I’ve seen cheap USB bridges make a perfectly fine NTFS drive appear RAW. Swap ports, cables, and if possible connect it directly. Sounds dumb, but it saves ppl a lot of panic.
What I would not do:
- Don’t format yet
- Don’t run random “fix RAW drive” CMD commands from YouTube
- Don’t write anything new to that SSD
What I would do:
- Verify whether the drive reports the correct capacity
- If it’s external, test a different cable or enclosure
- If the SSD is unstable, image/clone it first
- Then use a recovery tool like Disk Drill to scan and copy files off to another disk
Disk Drill is solid for RAW SSD recovery because it can often find lost NTFS structures and, if those are toast, fall back to signature-based scanning. That’s usually the practical path when you need to recover files from a corrupted SSD or RAW drive.
After the data is safe, wipe the partition, recreate it, and format as NTFS. If the SSD goes RAW again afterward, I wouldn’t trust it anymore tbh. That’s usually the part people ignore… then the drive dies for real a week later.

Not really. “RAW to NTFS without losing data” is usually the wrong framing. I’m with @mikeappsreviewer on that part. Where I slightly differ from @viajantedoceu and @caminantenocturno is this: if the SSD is stable and the issue started after an update, crash, or enclosure glitch, I’d also check whether the partition boot sector or drive letter assignment got mangled before assuming full file system death.
A few things worth checking that haven’t been stressed enough:
- Look in Event Viewer for disk, NTFS, or controller errors
- Check if the partition still has the expected size and offset
- If it is BitLocker, verify it did not get locked or metadata-desynced
- Try another machine, ideally not through the same USB adapter
About Disk Drill:
Pros:
- Easy preview of recoverable files
- Good at scanning RAW volumes
- Clean interface, not much setup
Cons:
- Deep scans can be slow
- Best features are paid
- Signature recovery may lose original names/folder structure
So yes, Disk Drill is a reasonable recovery-first option, especially if you want something straightforward. After recovery, re-create the partition and format NTFS. If the SSD turns RAW again afterward, retire it. That part I fully agree on with @viajantedoceu, @caminantenocturno, and @mikeappsreviewer.