After using Safely Remove Hardware on Windows, my external hard drive started showing “The parameter is incorrect” when I plug it back in. I’m worried the drive or file system may be corrupted, and I need help figuring out how to access my files without making things worse.
Don’t format the drive right away, even if Windows keeps pushing you to. That’s the big thing. The 'The parameter is incorrect.' message can feel like the drive is dead, but a lot of the time Windows just can’t read the file system correctly. The data may still be there.
I’d also avoid running CHKDSK immediately if there’s anything important on the drive. CHKDSK can help in some cases, but it also makes changes to the file system, so I’d copy or recover the important stuff first.
Start with the boring checks because they’re quick and sometimes that’s all it is:
- Use a different USB cable.
- Try another USB port, ideally one directly on the motherboard if this is a desktop.
- Connect the drive to another computer.
- Open Disk Management and see if the drive shows up with the correct capacity.
If Disk Management still sees the drive and the size looks right, that’s usually a better sign. It means Windows can still communicate with the device, even if it can’t open it normally.
Next, check the drive’s health. CrystalDiskInfo is good for this and it’s free. If you’re already using Disk Drill, it also has SMART monitoring built in. Pay attention to warnings like reallocated sectors, pending sectors, or other health alerts. If those show up, stop using the drive as much as possible because it may be physically failing.
For getting the files back, I’d use Disk Drill. In my case, that’s what recovered the files.
The feature I’d use first is Byte-to-byte Backup. It makes a full image of the drive, so you can scan the image instead of repeatedly scanning the original disk. That matters if the drive is unstable, because every extra read can make things worse.
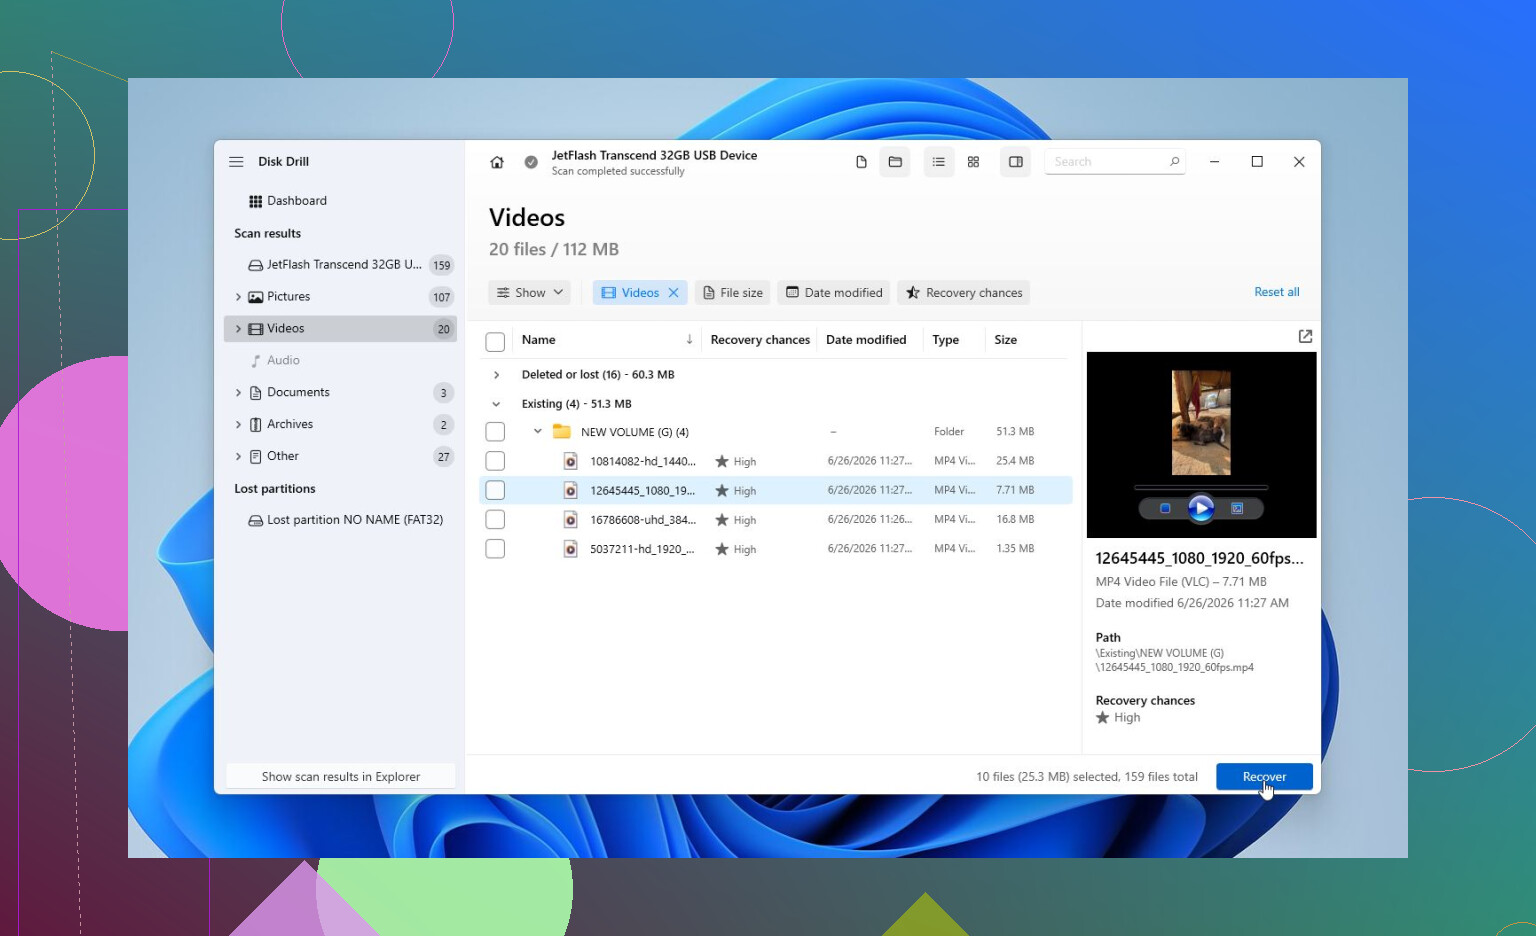
Once you have an image, scan that. If the drive seems healthy and stable, you can scan it directly, but I’d still prefer the image route when the files matter. Run a Universal Scan, then preview the files it finds. If photos, documents, videos, and other files preview correctly, that’s usually a good sign. Recover them to a different drive, never back onto the bad one.
After the important files are copied somewhere safe, then I’d think about repairs.
- If Windows still recognizes the file system, try CHKDSK with
chkdsk X: /r, replacingX:with the correct drive letter. - If the drive shows as RAW, CHKDSK usually isn’t useful. In that situation, TestDisk may be worth trying because it can rebuild damaged partitions in many cases.
- If the issue seems tied to Windows rather than the drive, run SFC and DISM to repair system files.
- There are also rare cases where the Windows decimal separator causes weird drive errors. Changing it back to a period has fixed the issue for some people, but that’s definitely not the first thing I’d suspect.
If you’ve recovered everything important and the drive still won’t behave, I’d do a quick format. If it works fine afterward, it was probably file system corruption. If the same error comes back after formatting, I wouldn’t trust that drive anymore.
The point where I’d stop trying home fixes is if the drive clicks, drops connection, disappears from Disk Management, only shows up sometimes, or SMART reports serious problems. At that stage, powering it on repeatedly can lower the odds of recovery.
Most professional recovery labs will evaluate the drive first and give you a quote before doing the actual recovery. Many also have a no data, no fee policy. Logical recoveries are often somewhere around $300–600. If the drive needs parts, hardware repair, or clean-room work, it can easily be more like $700–2,000+, depending on the drive and what failed.
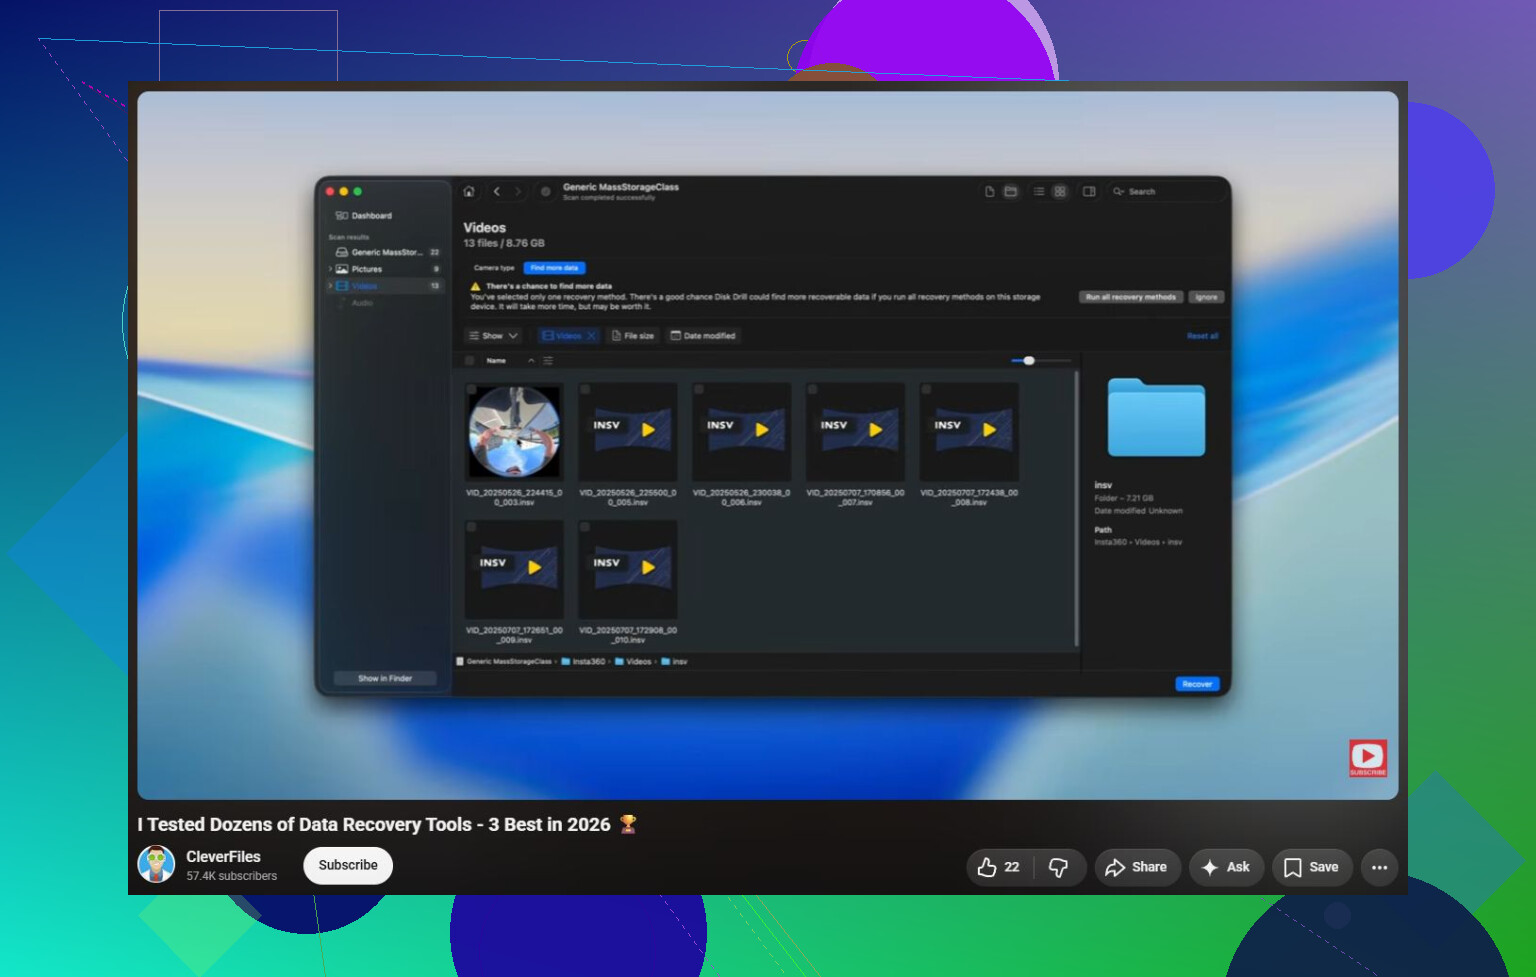
https://www.youtube.com/watch?v=_e4D_2bu8LE
If this is a normal SATA drive inside a USB enclosure, don’t forget the enclosure itself can be the problem, not the disk. I’d try the drive through a different USB adapter/dock before doing any repair writes, because a flaky bridge board can throw “parameter is incorrect” even when the actual drive is readable.
Boot a live Linux USB before you let Windows “fix” anything.
That gives you a cheap read-only sanity check that Windows can’t really provide. If the drive mounts in Linux and you can see the folders, copy the important files to another disk first. Don’t move them, copy them. If Linux also complains, drops the drive, or sees the wrong size, then I’d be looking harder at the enclosure, cable, or the disk itself like @sonhadordobosque said.
I’m a little less quick to run chkdsk /r on an external drive than some guides suggest. It can take ages, it stresses the disk, and if the file system is already scrambled it may “repair” it in a way that makes recovery messier. Disk Drill or similar recovery software is fine if you want a GUI, but I’d still rather image the drive or copy off anything visible before doing repair writes.
Another boring thing people miss: remove any saved shortcut, mapped path, backup job, or app that is trying to access the old drive letter as soon as it plugs in. Sometimes Windows starts hammering the disk right away because File History, indexing, antivirus, or backup software wakes up. Plug it in, leave Explorer closed, check Disk Management first, and see whether the capacity and partition layout look sane. If the size is wrong, stop treating it like a Windows error.
Do not keep unplugging and replugging it to “test” it, because a weak USB port or dying drive can get worse with every reconnect.
Before recovery scans or repairs, check Windows Event Viewer under System for disk, ntfs, storahci, or USB errors right after plugging it in. If you see repeated reset or bad block messages, treat it as a hardware problem first, not just a Windows safely-eject glitch.