My hard drive has started making odd noises and the system freezes when I try to copy files. I’m worried it’s failing and don’t want to make data loss worse. What hard drive repair or recovery tools are safe to try before replacing the drive?
There really isn’t a single “best” hard drive repair tool. It depends on what’s wrong with the drive. A program that’s great for recovering deleted files may do nothing for a damaged partition table, and a tool that scans bad sectors won’t magically fix a drive with mechanical problems.
If you care about the files on the drive, the main rule is simple: recover the data before trying to repair anything. Repairs can change the disk, and on a failing drive, every extra scan or write can make things worse.
These are the five tools I’d usually look at:
1. Disk Drill – Best general pick
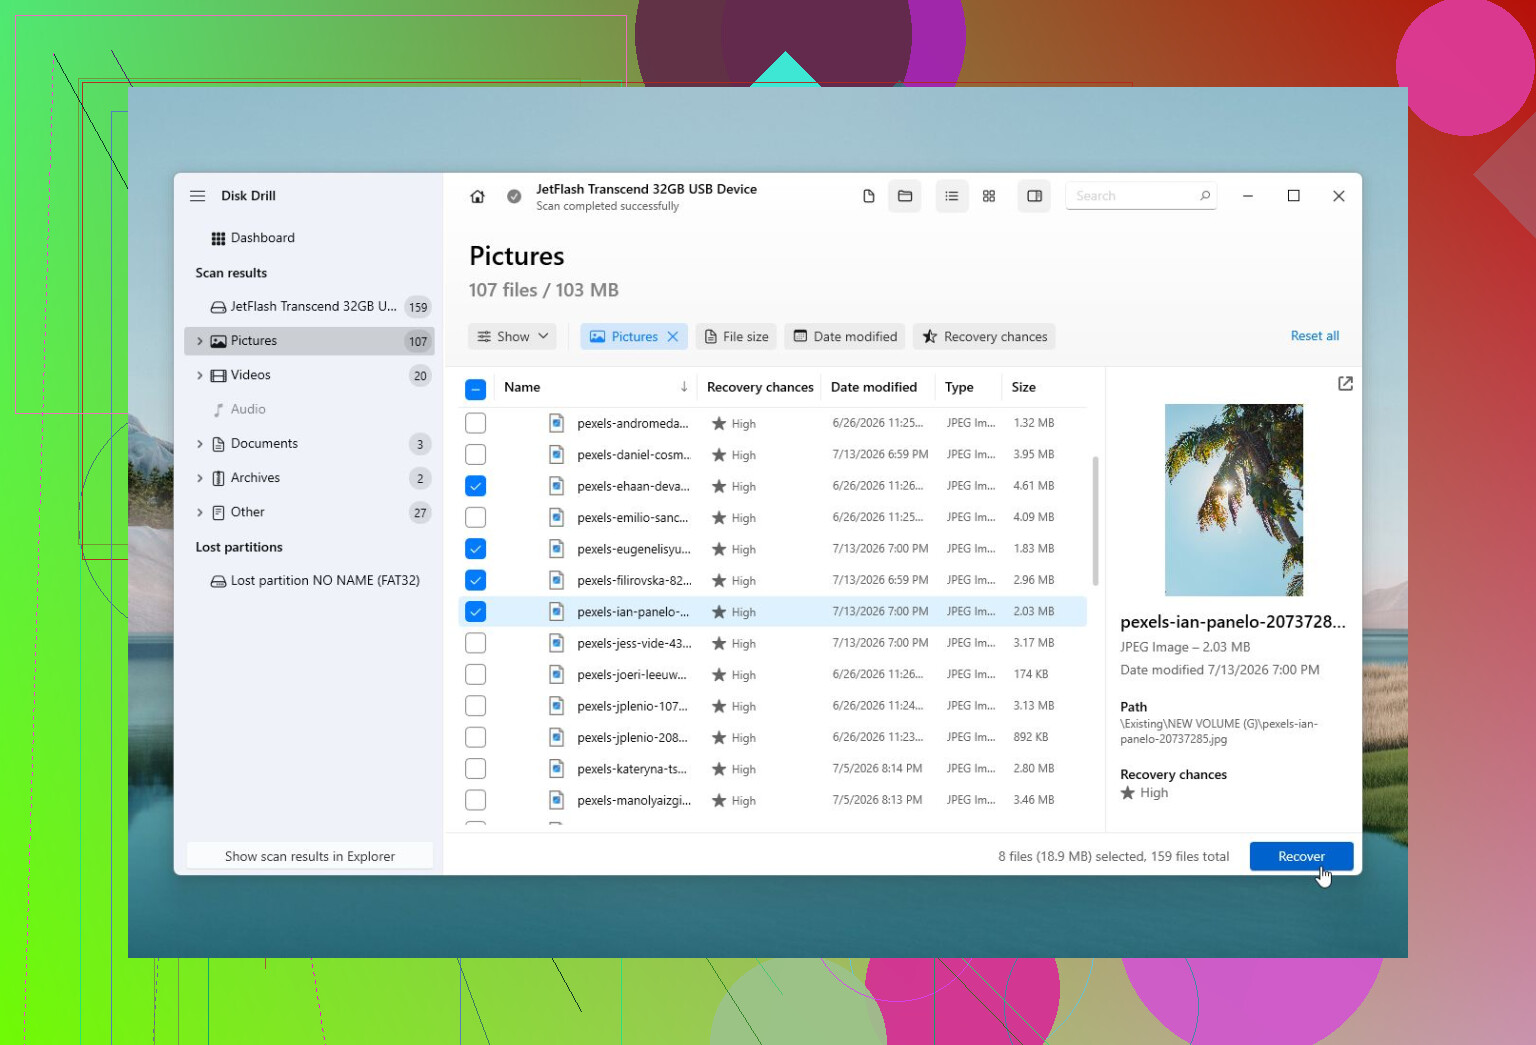
Disk Drill is the one I’d start with when the priority is getting files back. If Windows asks to format the drive, the file system shows as RAW, or folders suddenly vanish, I’d try recovery before doing any “fixes.” It can recover files, make a disk image from a problem drive, and check S.M.A.R.T. health. It’s also a lot less intimidating than many recovery programs.
Pros
- Strong data recovery features.
- Easy enough for beginners.
- Can image an unstable drive before scanning it.
- Includes S.M.A.R.T. monitoring.
Cons
- It’s mostly a recovery tool, not a repair tool.
2. TestDisk – Best free option for partition repair
TestDisk is the tool I’d think of when a partition disappears, a disk suddenly looks unallocated, or the boot sector is damaged. It’s very capable, especially for a free program, but it’s not friendly if you’re new to this stuff. The text-based interface can be confusing, and the wrong choice can make the situation messier.
Pros
- Free.
- Very good for partition and boot sector problems.
- Works across many operating systems.
Cons
- Text/command-line style interface.
- Not forgiving if you don’t know what you’re changing.
3. Hard Disk Sentinel – Best for keeping an eye on drive health
Hard Disk Sentinel is more about warning you early than fixing something after it breaks. It tracks S.M.A.R.T. data, temperatures, bad sectors, and general health, which makes it useful for deciding whether a drive is still safe to trust.
Pros
- Detailed health and status reports.
- Can warn you before a drive fully dies.
- Supports HDDs, SSDs, USB drives, and RAID setups.
Cons
- No file recovery.
- Paid software.
4. Victoria HDD/SSD – Best for bad sector checks
Victoria is useful when you want a closer look at the disk surface. It can run detailed sector scans and may attempt remapping. It’s more of a diagnostic tool for people who already know what they’re looking at, but it’s solid for checking bad sector behavior.
Pros
- Free.
- Good surface-level diagnostics.
- Shows detailed S.M.A.R.T. information.
Cons
- The interface can be rough for beginners.
- Doesn’t recover files.
5. DiskGenius – Useful all-in-one drive utility
DiskGenius is handy if you want partition tools, cloning, backups, file recovery, and some repair features in one place. I wouldn’t make it my first choice for someone who only needs simple recovery, but it’s useful if you deal with drives often.
Pros
- Lots of drive tools in one program.
- Good partition recovery features.
- Includes cloning and backup options.
Cons
- The interface is a bit crowded.
- Some tools are locked behind the paid version.
One important thing: if the drive is clicking, randomly disconnecting, taking forever to read, or showing new bad sectors, don’t burn time running every repair program you can find. Get the important files first. If it’s still readable, make an image of the drive, recover from that image, and replace the drive afterward.
Software can help with logical problems like deleted files, damaged partitions, or corrupted file systems. It can’t fix worn heads, a dying motor, or damaged platters.
If the drive isn’t detected at all, makes grinding or loud clicking noises, or has data you truly can’t replace, it’s better to stop powering it on and send it to a professional recovery lab. It costs more, but repeated DIY attempts on a mechanically failing drive can reduce the chances of getting the data back.
If the drive is making noise and freezing during copies, assume you may only get one decent read pass out of it. That means I would not start with “repair” tools at all. I would not run CHKDSK, Windows error checking, bad sector repair, defrag, vendor diagnostics with a long test, or anything that writes changes to the disk.
The safer order is: stop using the drive, connect it as a secondary drive if possible, and image/clone it to another healthy drive first. If the data matters, tools like ddrescue or HDDSuperClone are often better suited for unstable drives because they can skip bad areas and come back to them later instead of getting stuck forever on one unreadable spot. After you have an image, then use recovery software against the image, not the original drive. Disk Drill is fine for that kind of recovery workflow if you want something more user-friendly, but I would still avoid doing a deep scan directly on a clicking or stalling drive.
The easy trap is trying to “just copy the important folder” over and over. Each failed copy attempt may hammer the same bad section again. If you cannot image the drive, at least copy the most irreplaceable files first, not the biggest folders or the easiest ones. Photos, documents, tax stuff, project files first. Games, installers, downloads, and media you can replace later. And if the noise is loud clicking, scraping, spin-up/spin-down loops, or the drive keeps disappearing from BIOS, power it off and skip DIY software. At that point the tool choice matters less than not making the physical damage worse.
If this is an external drive, the enclosure and cable change the answer a bit. A flaky USB bridge or underpowered port can make copies freeze and disconnect, which looks like a dying disk. I’d try a different known-good cable, a powered dock, or a direct SATA connection if it’s a desktop drive. But if the drive itself is clicking, scraping, or repeatedly spinning down, don’t keep testing different setups for an hour. That turns into “diagnostics by torture.”
I agree with the general direction above: don’t run repair tools first. “Repair” is a bad word here because most repair tools assume the disk is stable enough to survive being poked for a while. Yours may not be. If you can get it connected cleanly, make a clone/image first, then scan the clone. Disk Drill is fine once you’re working from an image or from a drive that is still reading consistently, but I would not make a noisy drive sit through a full deep scan just because the software is easy to use.
A thing people forget is the destination drive. Don’t clone back onto the same disk, don’t use a drive with files you care about, and don’t clone to a smaller disk unless you know exactly what you’re doing. You want a blank healthy drive with enough space, preferably larger than the failing one. And skip the old freezer trick, tapping the drive, opening the cover, or repeatedly rebooting to “see if it comes back.” If the data is worth real money, power it off and let a lab handle it. If it’s not worth lab money, image first and accept that some files may already be gone.
Whether this is your only copy of the data changes the answer more than the brand of tool. If the files exist somewhere else, I’d just replace the drive and stop wasting time on it. If this is the only copy, treat the disk like evidence, not like a device you’re trying to nurse back to health.
A detail that gets skipped a lot: Windows itself can make things worse without you meaning to “repair” anything. The moment you plug the drive in, it may try to mount it, index it, scan it, show thumbnails, run antivirus checks, or pop up the “you need to format this drive” message. Don’t click through that stuff. Don’t let CHKDSK run on boot. If Explorer hangs when you open the drive, stop browsing around in Explorer. That’s already a bad sign.
If you’re going to DIY, I’d keep the first pass boring and minimal: connect the drive in the most stable way you can, check whether it is detected, and then image it to another disk. Do not run any tool that says it will “fix bad sectors” or “repair file system errors” on the original. Those tools may be useful on a disposable drive or on a clone, but they are the wrong first move when the drive is making noise and freezing reads.
After you have an image, then use recovery software on that image. Disk Drill makes sense there because it’s easier for normal people than a lot of the Linux recovery tools, and it can scan without you learning a bunch of command syntax. The caveat is the same as others said: easy software is still not magic. If the original drive is clicking, disappearing, or stalling constantly, a nice interface does not make the hardware safer.
The cheapest “safe” repair is no repair: get the data copied off, retire the drive, and don’t trust it again. Even if you manage to get it working after a format or a bad-sector remap, it has already told you what it is. Use it for target practice, not backups.