I’m trying to upload images to my WordPress site with FTP because the media uploader isn’t working, but I’m not sure which folder they belong in. I don’t want to break anything or have the files show up incorrectly, so I need help finding the right upload path and how to make WordPress recognize the images.
If you need to upload a bunch of images (or any other media files) to WordPress and don’t want to do it one by one through the admin panel, FTP is the way to go. Below is a walkthrough of how to do it using FileZilla, plus a few alternatives worth knowing about.
Step 1: Connect to your WordPress site via FTP
First, you’ll need an FTP client. FileZilla is probably the most well-known option - it’s free and works on Windows, Mac, and Linux. That said, if you’re planning to move a large number of files or anything heavyweight, FileZilla can get sluggish. Transfers slow down noticeably, and occasionally it just stalls. It’s fine for smaller jobs, but keep that in mind.
To connect, open FileZilla and enter your FTP credentials at the top:
- Hostname
- Username
- Password
- Port (usually 21)
You can get these from your hosting provider’s control panel or by contacting their support. Once everything’s filled in, hit Quickconnect.
Step 2: Upload files to the wp-content/uploads folder
Once you’re connected, you’ll see your server’s file structure on the right side of the screen and your local files on the left. Navigate to:
public_html → wp-content → uploads
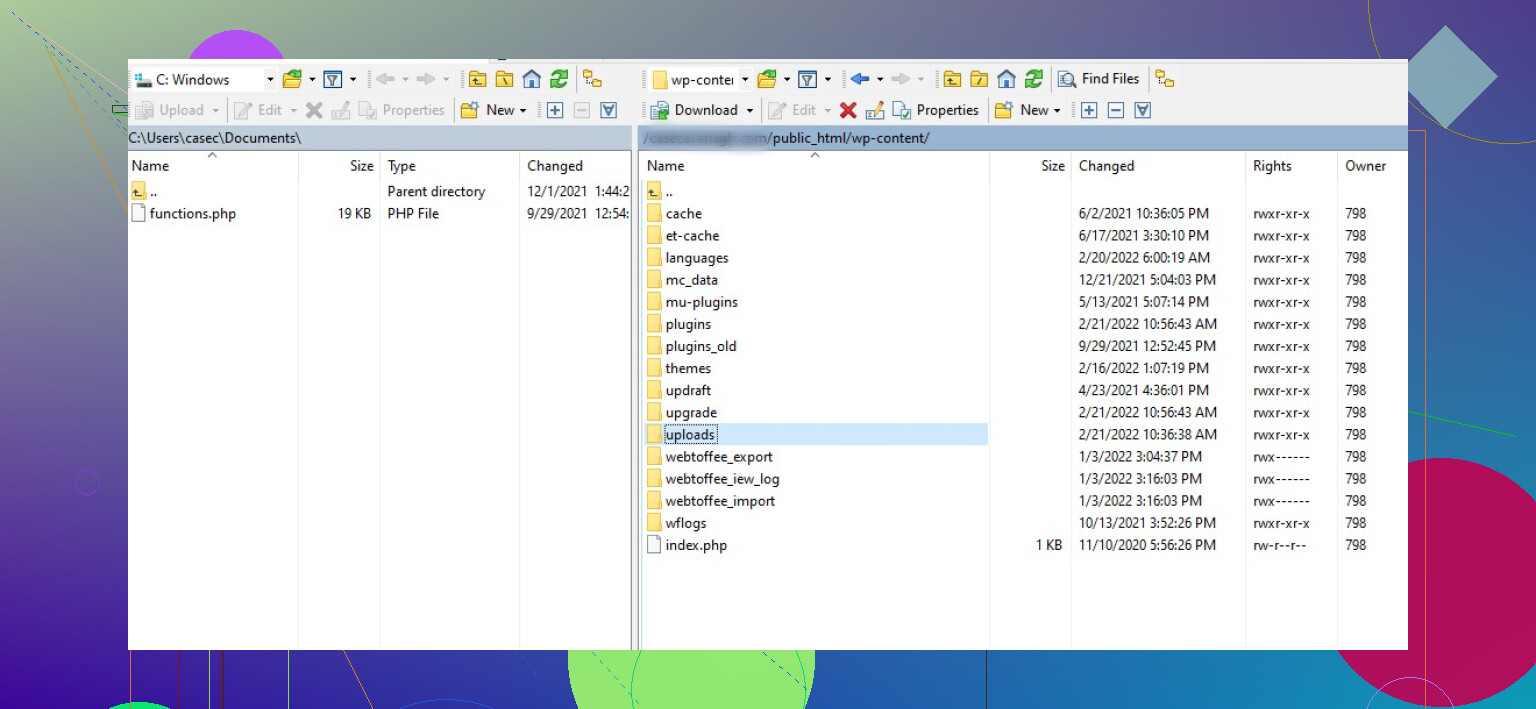
From there, you can either drop files into an existing date-based folder (WordPress creates these automatically) or create a new folder to keep things organized.
To upload, just drag your files from the left panel (local) to the right panel (remote). You can move as many files as you want at once. Depending on how much you’re uploading, it might take a while — just let it run.
Step 3: Register the uploaded files in your WordPress Media Library
Here’s the thing most people don’t realize until they’ve already done the upload: files you add via FTP won’t show up in your Media Library automatically. WordPress doesn’t know they’re there yet. You need to register them.
The easiest way to do this is with the Add From Server plugin. Install and activate it, then go to Media → Add From Server in your dashboard.
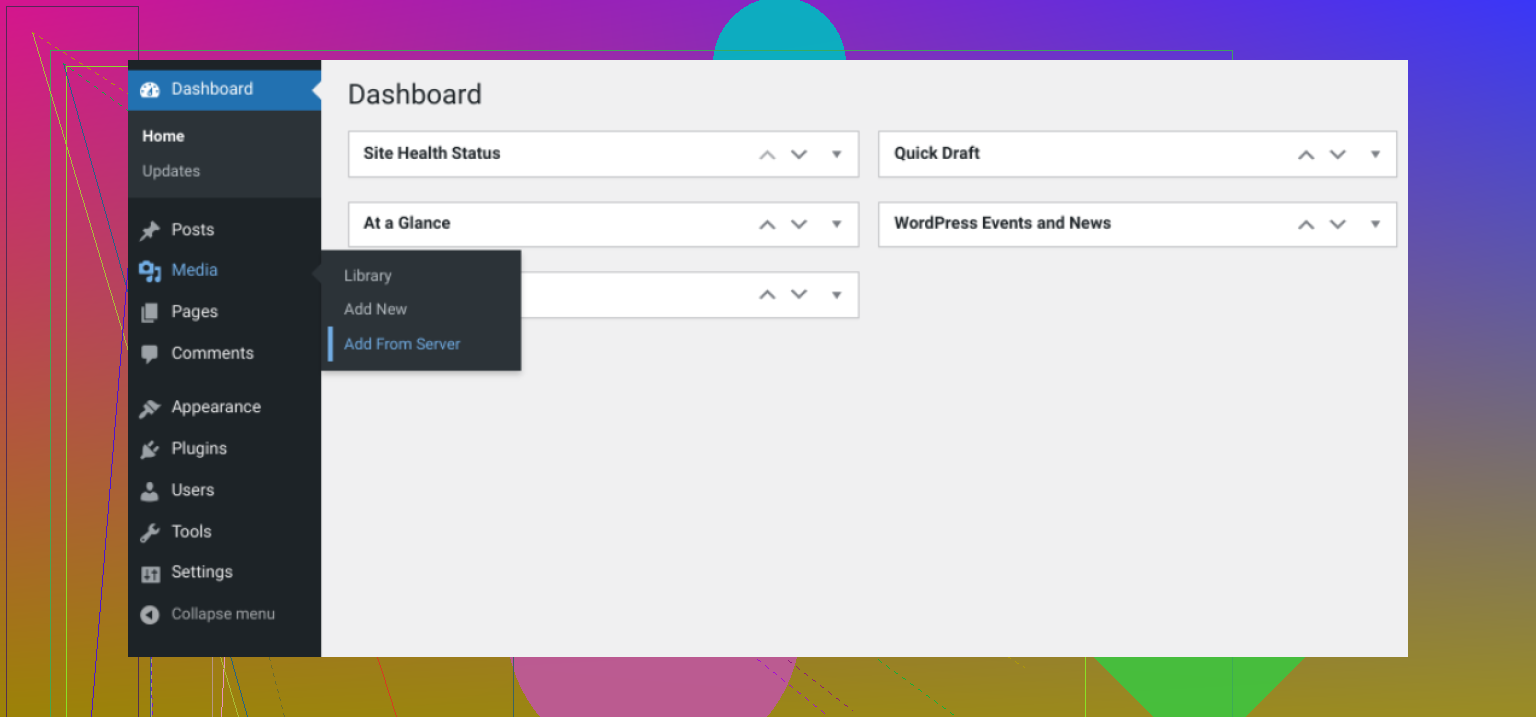
Navigate to the uploads folder where you put your files, select them (you can grab all of them at once or pick individually), and click Import.
Depending on how many files you’re importing, this can take a few minutes. When it’s done, you’ll see a confirmation message and everything will be available in your Media Library.
One heads-up: Add From Server hasn’t been updated in quite a while, so if you run into issues, an alternative is to register files using WP-CLI — the command-line tool for WordPress. That’s a bit more involved but gives you more control.
Alternative FTP clients worth considering
FileZilla isn’t the only option, and depending on your setup, something else might suit you better.
Commander One (Mac)
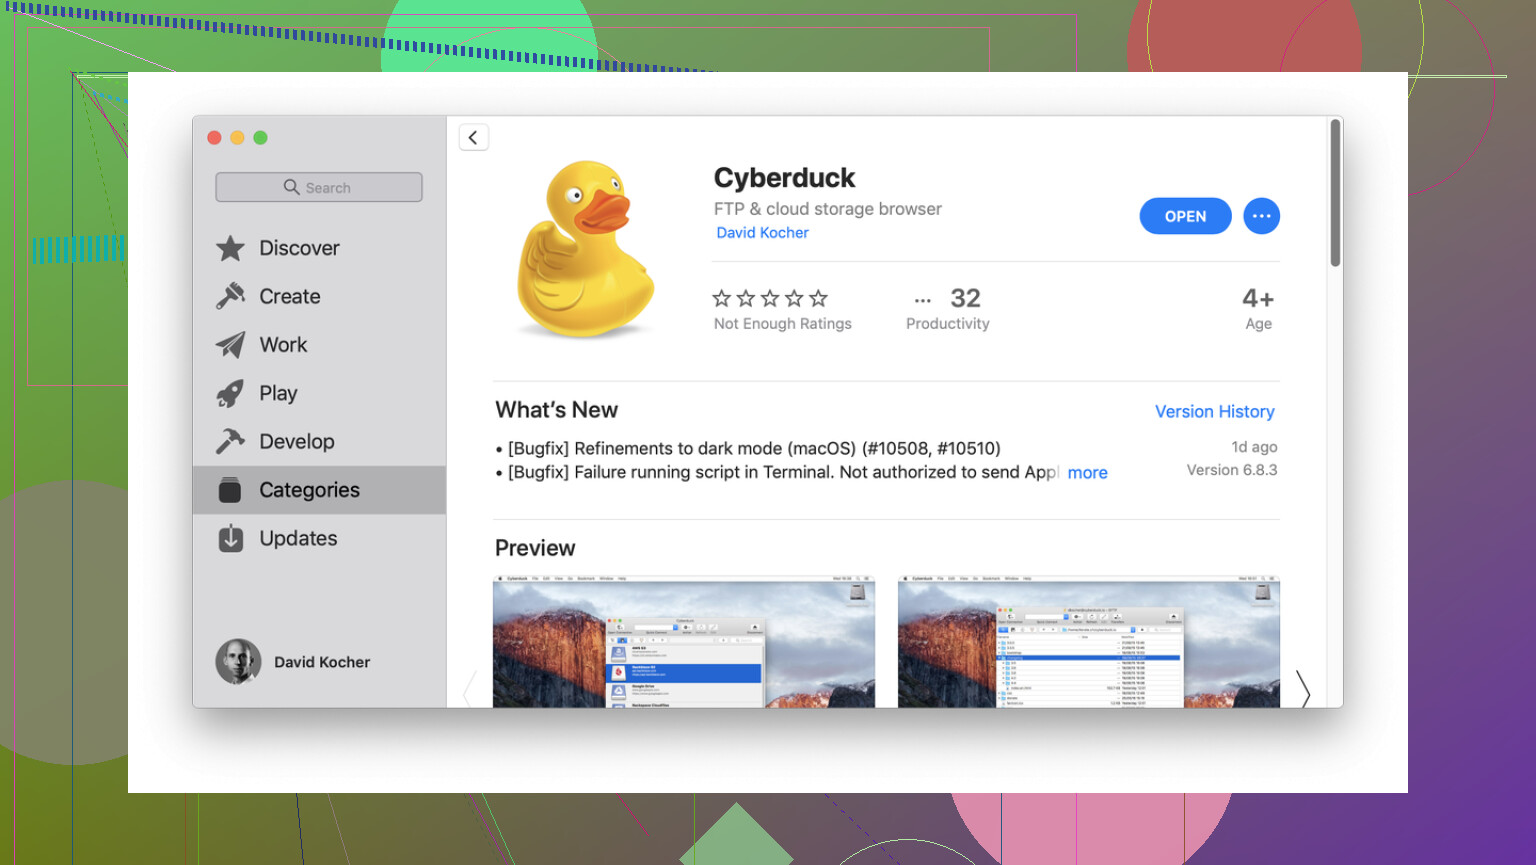
If you’re on a Mac and do this kind of thing regularly, Commander One is worth looking at. It’s a paid app, but it handles FTP/SFTP connections well and supports working with archives directly, so you can compress a batch of files and transfer them in one go. Useful if you’re a developer or managing files across multiple projects.
Cyberduck (Mac/Windows)
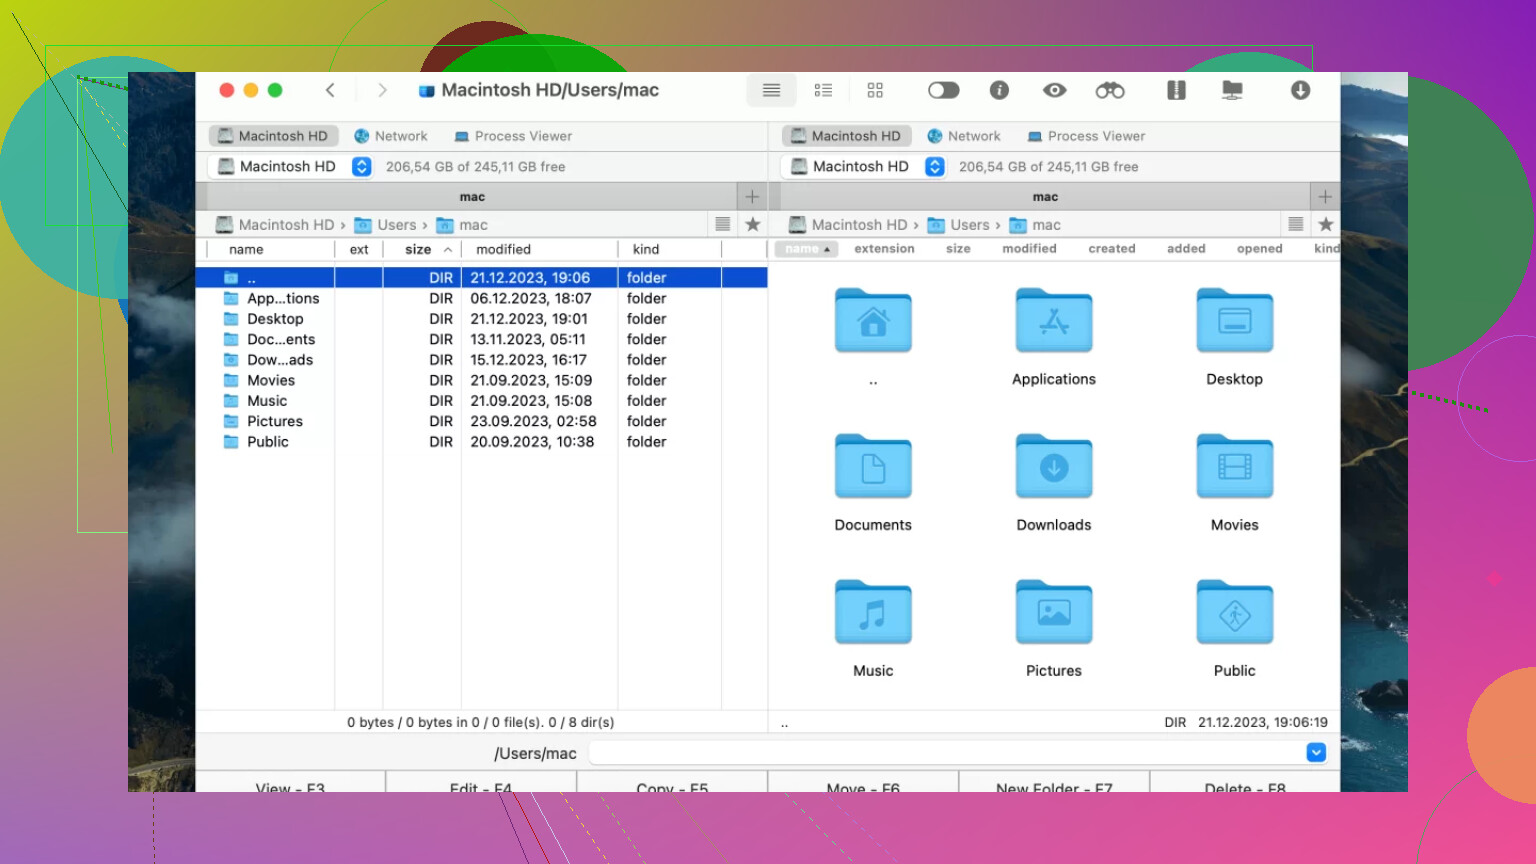
Cyberduck is free and open-source, and it’s been around for a long time. That said, quite a few users report problems with basic file operations — things like renaming, moving, or syncing files don’t always behave as expected. It works, but it can be frustrating if you’re doing anything beyond a straightforward upload.
CloudMounter (Mac/Windows)
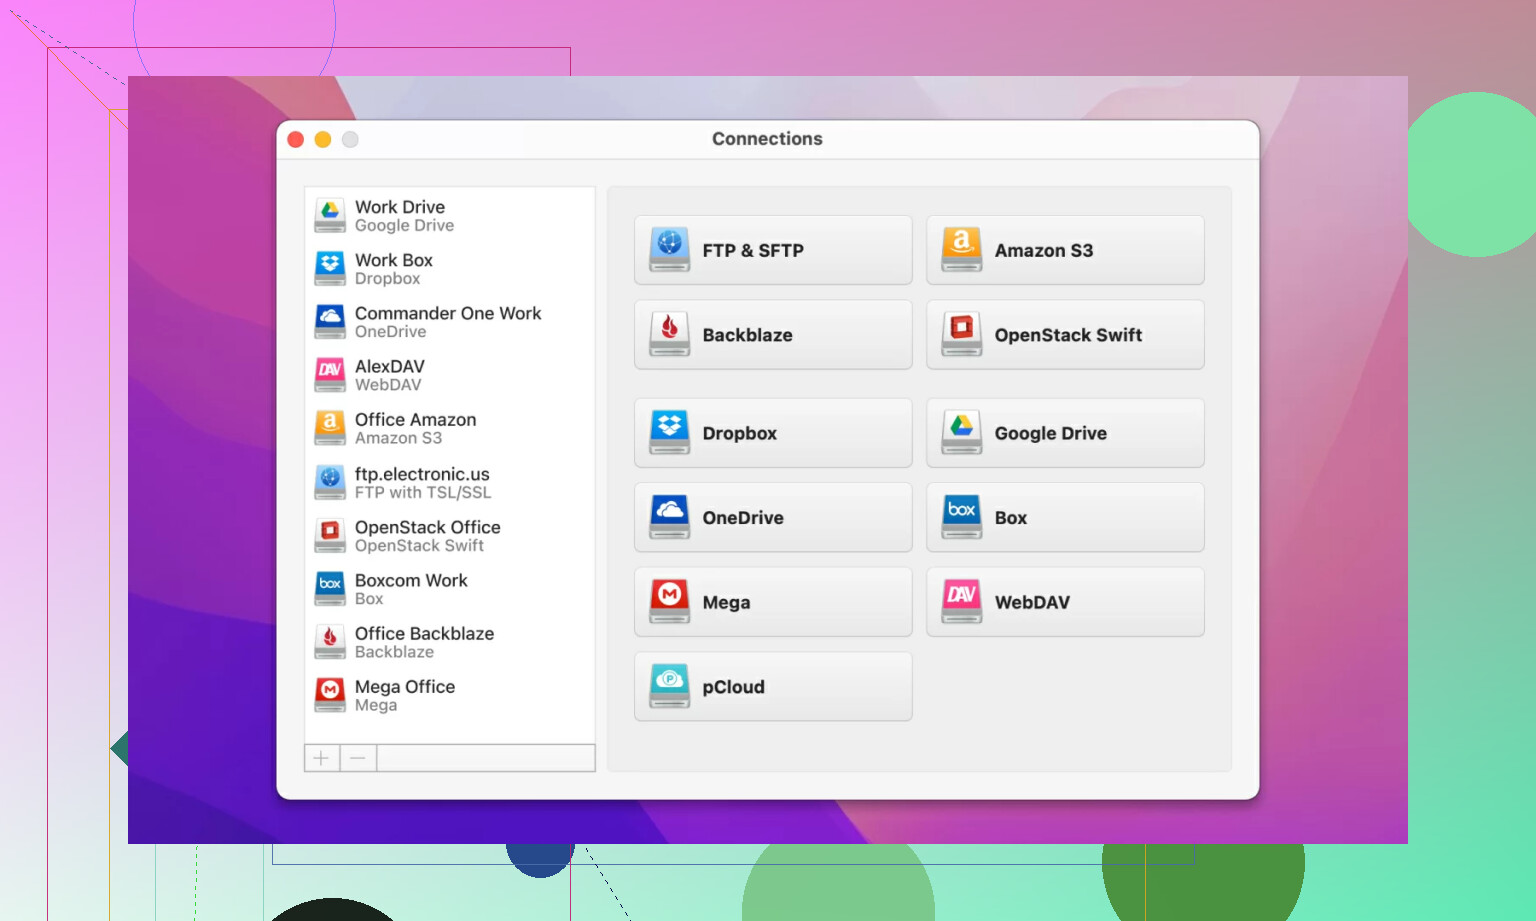
CloudMounter takes a slightly different approach - instead of a traditional two-panel FTP interface, it mounts your FTP server as a drive so you can access it directly from Finder on Mac or File Explorer on Windows. If you’re not particularly technical and the FTP client interface feels confusing, this is probably the most approachable option. It works on both platforms and keeps things simple.
5 Likes
Upload them to /wp-content/uploads/.
If your site uses the default WordPress structure, that is the right folder. WordPress usually creates subfolders like /2026/04/ for each month. Put the images in the matching year/month folder if you want things to stay organized and match normal uploads.
A few practical points:
- Do not upload images to /wp-content/themes/ or /wp-content/plugins/ unless a theme or plugin specifically asks for it.
- If you upload by FTP, WordPress does not automatically add those files to the Media Library.
- If you only need the image URL, FTP upload is enough. Example:
yourdomain.com/wp-content/uploads/2026/04/photo.jpg - If you want the image to appear inside Media Library, you need to import or register it afterward. @mikeappsreviewer covered plugin-based importing, so I won’t repeat that part.

One place I disagree a bit. I would not make random custom folders inside uploads unless you have a clear reason. Some plugins expect the normal year/month layout, and odd folder setups sometiems confuse people later.
If you are on Mac and tired of clunky FTP apps, Commander One is worth a look. It handles WordPress file moves cleanly, and for bulk image uploads it feels less messy than older FTP clients.
Short version, use:
public_html/wp-content/uploads/2026/04/
That keeps things neat and avoids brekaing anything.
Upload them to /wp-content/uploads/, not themes, not plugins, not some mystery folder you made at 2 a.m.
If your site uses the normal WordPress setup, the safest spot is the current year/month folder, like:
public_html/wp-content/uploads/2026/04/
That part @sterrenkijker mentioned is the key bit I agree with. I’d actually be a little stricter than @mikeappsreviewer on custom folders though. Yes, WordPress can serve files from custom folders inside uploads, but if you want fewer headaches later, stick to the default year/month structure. Less confusion, fewer “why is this image missing?” moments.
One important thing people gloss over: uploading by FTP only puts the file on the server. It does not fully “upload” it into WordPress as an attachment. So:
- if you just need the direct image URL, FTP is enough
- if you need it to appear in Media Library, be selectable in posts, or have attachment metadata, it has to be registered/imported afterward
Also check file permissions if images upload but won’t open. Usually folders should be 755 and files 644. If perms are wrong, stuff gets weird fast.
And if your media uploader is broken, I’d fix that too instead of relying on FTP forever. Often it’s a plugin conflict, memory limit issue, or bad file permissions.
If you’re on Mac, Commander One is honestly nicer than older FTP clients for moving WordPress files around. Cleaner for bulk image uploads, less clunky UI, fewer dumb mistakes. Not magic, just easier to work with.
Short version:
Put images in /wp-content/uploads/YYYY/MM/
Then import/register them in WordPress if you want them in the Media Library. Otherwise they’ll just sit there on the server, looking all lost and stuff.
Use /wp-content/uploads/. That part from @sterrenkijker, @byteguru, and @mikeappsreviewer is right.
What I’d add is this: before uploading anything, check Settings → Media and also whether your site has “Organize my uploads into month- and year-based folders” enabled. If it is, match that structure. If it is off, dumping files into a random 2026/04 folder can be the wrong move for that specific site. People assume the default is always active, but not every install still uses it.
Two other gotchas:
- Filenames matter. Avoid spaces, weird symbols, and uppercase-heavy names. Use
product-shot-1.jpg, notIMG 004 FINAL!!.JPG. - Regenerate thumbnails if your theme needs specific image sizes. FTP only copies the original file. It does not create all the resized versions WordPress normally makes.
So the safe answer is:
- upload to
wp-content/uploads/ - preferably into the same year/month folder WordPress is already using
- then import/register if you need Media Library visibility
If your goal is only to embed by direct URL, you can skip the import step.
For FTP apps, I mostly agree with the general suggestions, though I’m less forgiving of clunky clients than @mikeappsreviewer. Commander One is decent if you’re on Mac.
Pros of Commander One
- cleaner dual-pane layout
- good for bulk file moves
- less awkward than some old-school FTP tools
Cons of Commander One
- not free for all advanced features
- Mac-focused, so not ideal if you switch between platforms a lot
- still just a file tool, it won’t fix WordPress media registration by itself
So yes, right folder: /wp-content/uploads/. Just mirror your site’s existing folder pattern instead of guessing.